
Part 1: Rapid Prototyping the Helmet
Part 2: the Hard Parts
Part 3: the Soft Parts
Part 4: the Gloves
Now on to the boots...
Feet are weird. They bend in strange ways, point in the wrong direction,* have entirely too many moving parts, and change sizes as you step on them. Building a passably articulated exoskeleton that your foot fits inside of while still allowing for movement without cutting off the wearer's toes makes for a bit of a challenge. There's also the problem of making a rigid sole that won't just slip and slide all over the place when the wearer walks around.
Here's a shot of my finished boots:
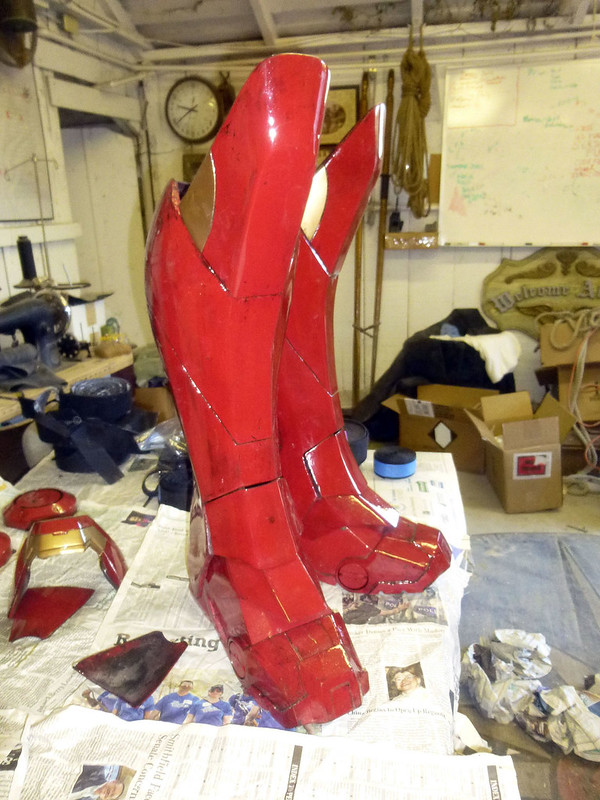
To see how they were made, read on...
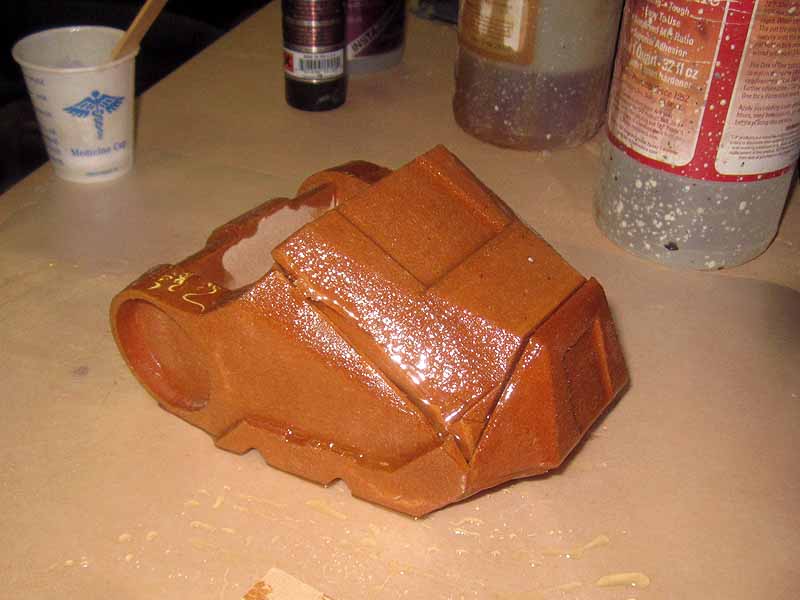
Oddly enough, even though this is the fifth article in the Ironman building series, the boots were actually the first piece I started with. Specifically, the toes. Here's the first one after Lopez had carved it out and I'd assembled and epoxied it:
Unfortunately, I ended up having a Goldilocks problem. The first boot was too small. The second was too big. The third one was just right.
Here it is coming off of the CNC machine:
Here are the two pieces all put together:
Here's the heel with a coat of primer:
And after sanding, filling, sanding, filling, sanding, priming, filling, sanding, priming, and painting:
And the toe after I'd done all of that:
Here they are all blocked up for molding:
Since there were a few spots I figured would end up having bubbles, I mixed up a thick batch of silicone and filled in the undercuts first:
Then I layered everything up until it was as strong as I needed it to be (I was making a few other molds at the time as well):
I laid up a fiberglass mothermold, pulled the prototype out, and rotocast my first boot:
It was great, but I'm a bit short for Ironman, so I decided to install a lift in order to give myself a few extra inches of height. This way the bottoms of the shin armor wouldn't drag on the ground with every step. I also decided I wanted to make the sole of the heel out of something a bit less rigid in order to keep me from slipping and sliding all over while I was walking around.
I started by slicing down the heel section and stuffing in a big wedge of insulation foam:
With the shin in place, it makes or a good fit and the ankle areas of the armor clear the ground by almost an inch. Perfect:
After smoothing over the foam wedge with some clay, I went ahead and made a new mold of the heel wedge:
With that done, I used the new mold to cast a couple of copies in dense flexfoam:
Then I took the old molds an rotocast another copy in rigid plastic, then modified it to include an upper:
Once I was happy with the shape, I shaved off the edges of the soles and gave it a bit of smoothing and filling:
Once it was smoothed out, I made another mold. Here's the prototype blocked up for molding:
The little pieces of blue rod will end up becoming registration keys to hold the rubber in the mothermolds.
Here's the rubber jacket portion of the mold laid up in silicone:
The big rectangles are additional registration keys that will help keep the rubber jacket properly aligned inside the mothermold.
Here's the mothermold all laid up in fiberglass:
After removing the prototype, I reassembled the mold:
In order to maintain uniform thickness and a reasonable amount of strength, I layered the inside of the mold with 1.5oz. fiberglass mat saturated with polyester resin. Then I coated the original with a mold release and clamped it back in the mold to squeeze out all the excess resin and make the fiberglass pull as thin as possible.
Here's the first fiberglass copy (right) next to the prototype (left):
After trimming the edges of the fiberglass piece, I riveted one of the rotocast toe castings onto the hinge points and inserted one of the flexfoam sole/wedge castings:
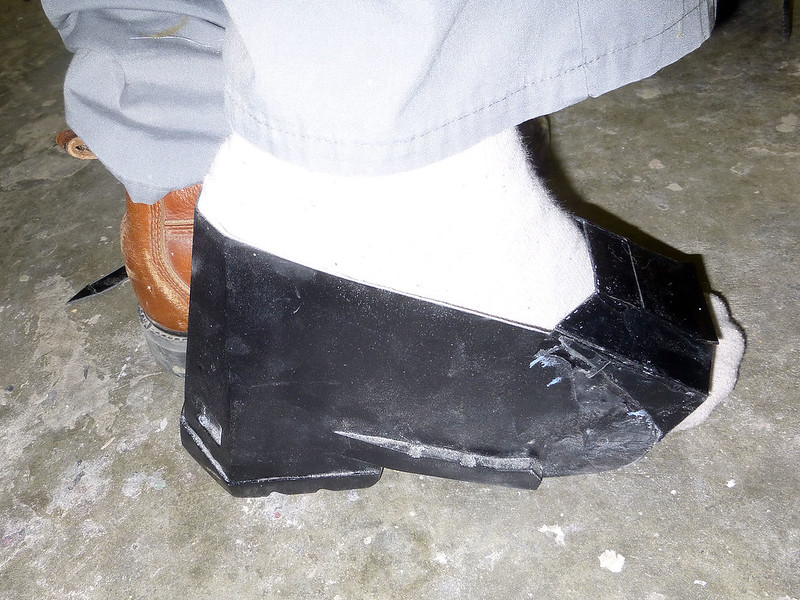
After a bit more trimming and cleanup, here's the first pair painted up and fitted with a piece of edge trim to prevent me from slicing my feet on the way in and out:
Here they are fitted to the bottom of the shins:
Having done all that, I'm thinking I might actually want to remake them in an ever-so-slightly larger size. Still, they're looking pretty sharp.
Stay tuned for more...
*Human feet both point in the same direction. It's a major engineering flaw. If you built a Christmas tree stand that way, it'd fall over.
No comments:
Post a Comment